I painted 5 pieces of A4 (letter) sized paper with watered down acrylic paint and put cling film on the top. You could use watercolour paint instead. If you use acrylic remember to take the cling film of before the paint dries completely.
Then I folded and cut the papers in the way I showed you in the first blog post on zines. I glued the pages together in each zine and then sewed through the spine of each one.
First you find where the middle of the spine is on each zine, and make a hole with a big needle or a pokey tool. Measure 3.5cms each side of the middle and make another hole
Take your threaded needle from the outside of the zine into the inside using the middle hole.
Take your needle from the inside to the outside through the top hole. Make sure the end of the thread still hangs outside.
Take the needle to the bottom hole and into the inside.
Come back up through the centre hole with the two sets of threads either side of the long stitch.
Tie a knot in the two loose threads so that it holds the long stitch.
Make sure you pull the trheads tight before you tie the knot. It should look like this
And NOT like this
Put all your threaded zines together. Hold them together with an elastic band or bulldog clips.
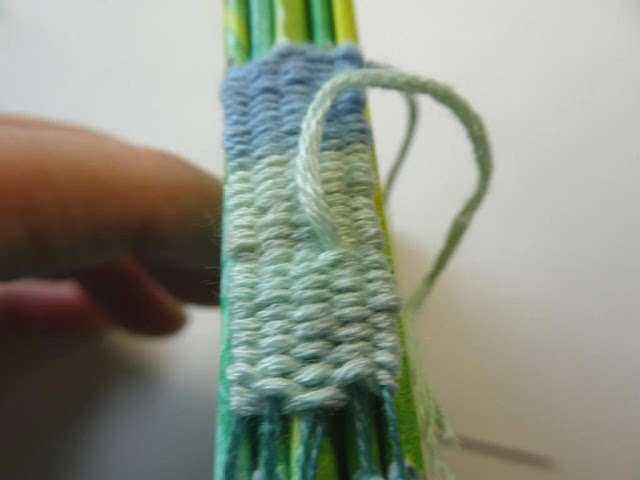
Using another thread - I like to use variegated - start weaving in and out of the stitches on the spine. Leave the end of the thread loose for now.
As you weave in and out use the needle to push the lines up tight to each other. Don't pull the thread to tight at the sides as you want an even edge and width.
When you run out of thread, push the needle up the part you have already woven
Cut the thread off and start a new thread as you did in the beginning.
Work as closely as you can to the knots.
When you get to the base of the weaving take the thread up through the weaving and cut it off. Where you started wach thread there will be tails. Thread these into the weaving.
The woven spine. You can leave the spine threads as they are, or cut them shorter or maybe add beads to them.
When you open the zines you will be able to see a bit of the weaving.
Next time we'll look at how we might use the zine. Yes, I know I said that last time, but I got sidetracked by the weaving.
Thanks for joining me today.
Bernice


No comments:
Post a Comment
I would love you to leave me an encouraging comment. Don't forget to put your name. I love to know who is commenting. Thank you.