Showing posts with label Gelli Plate. Show all posts

Tuesday, 21 March 2023

Experimenting or playing?

Whichever it is, it's what I was doing!

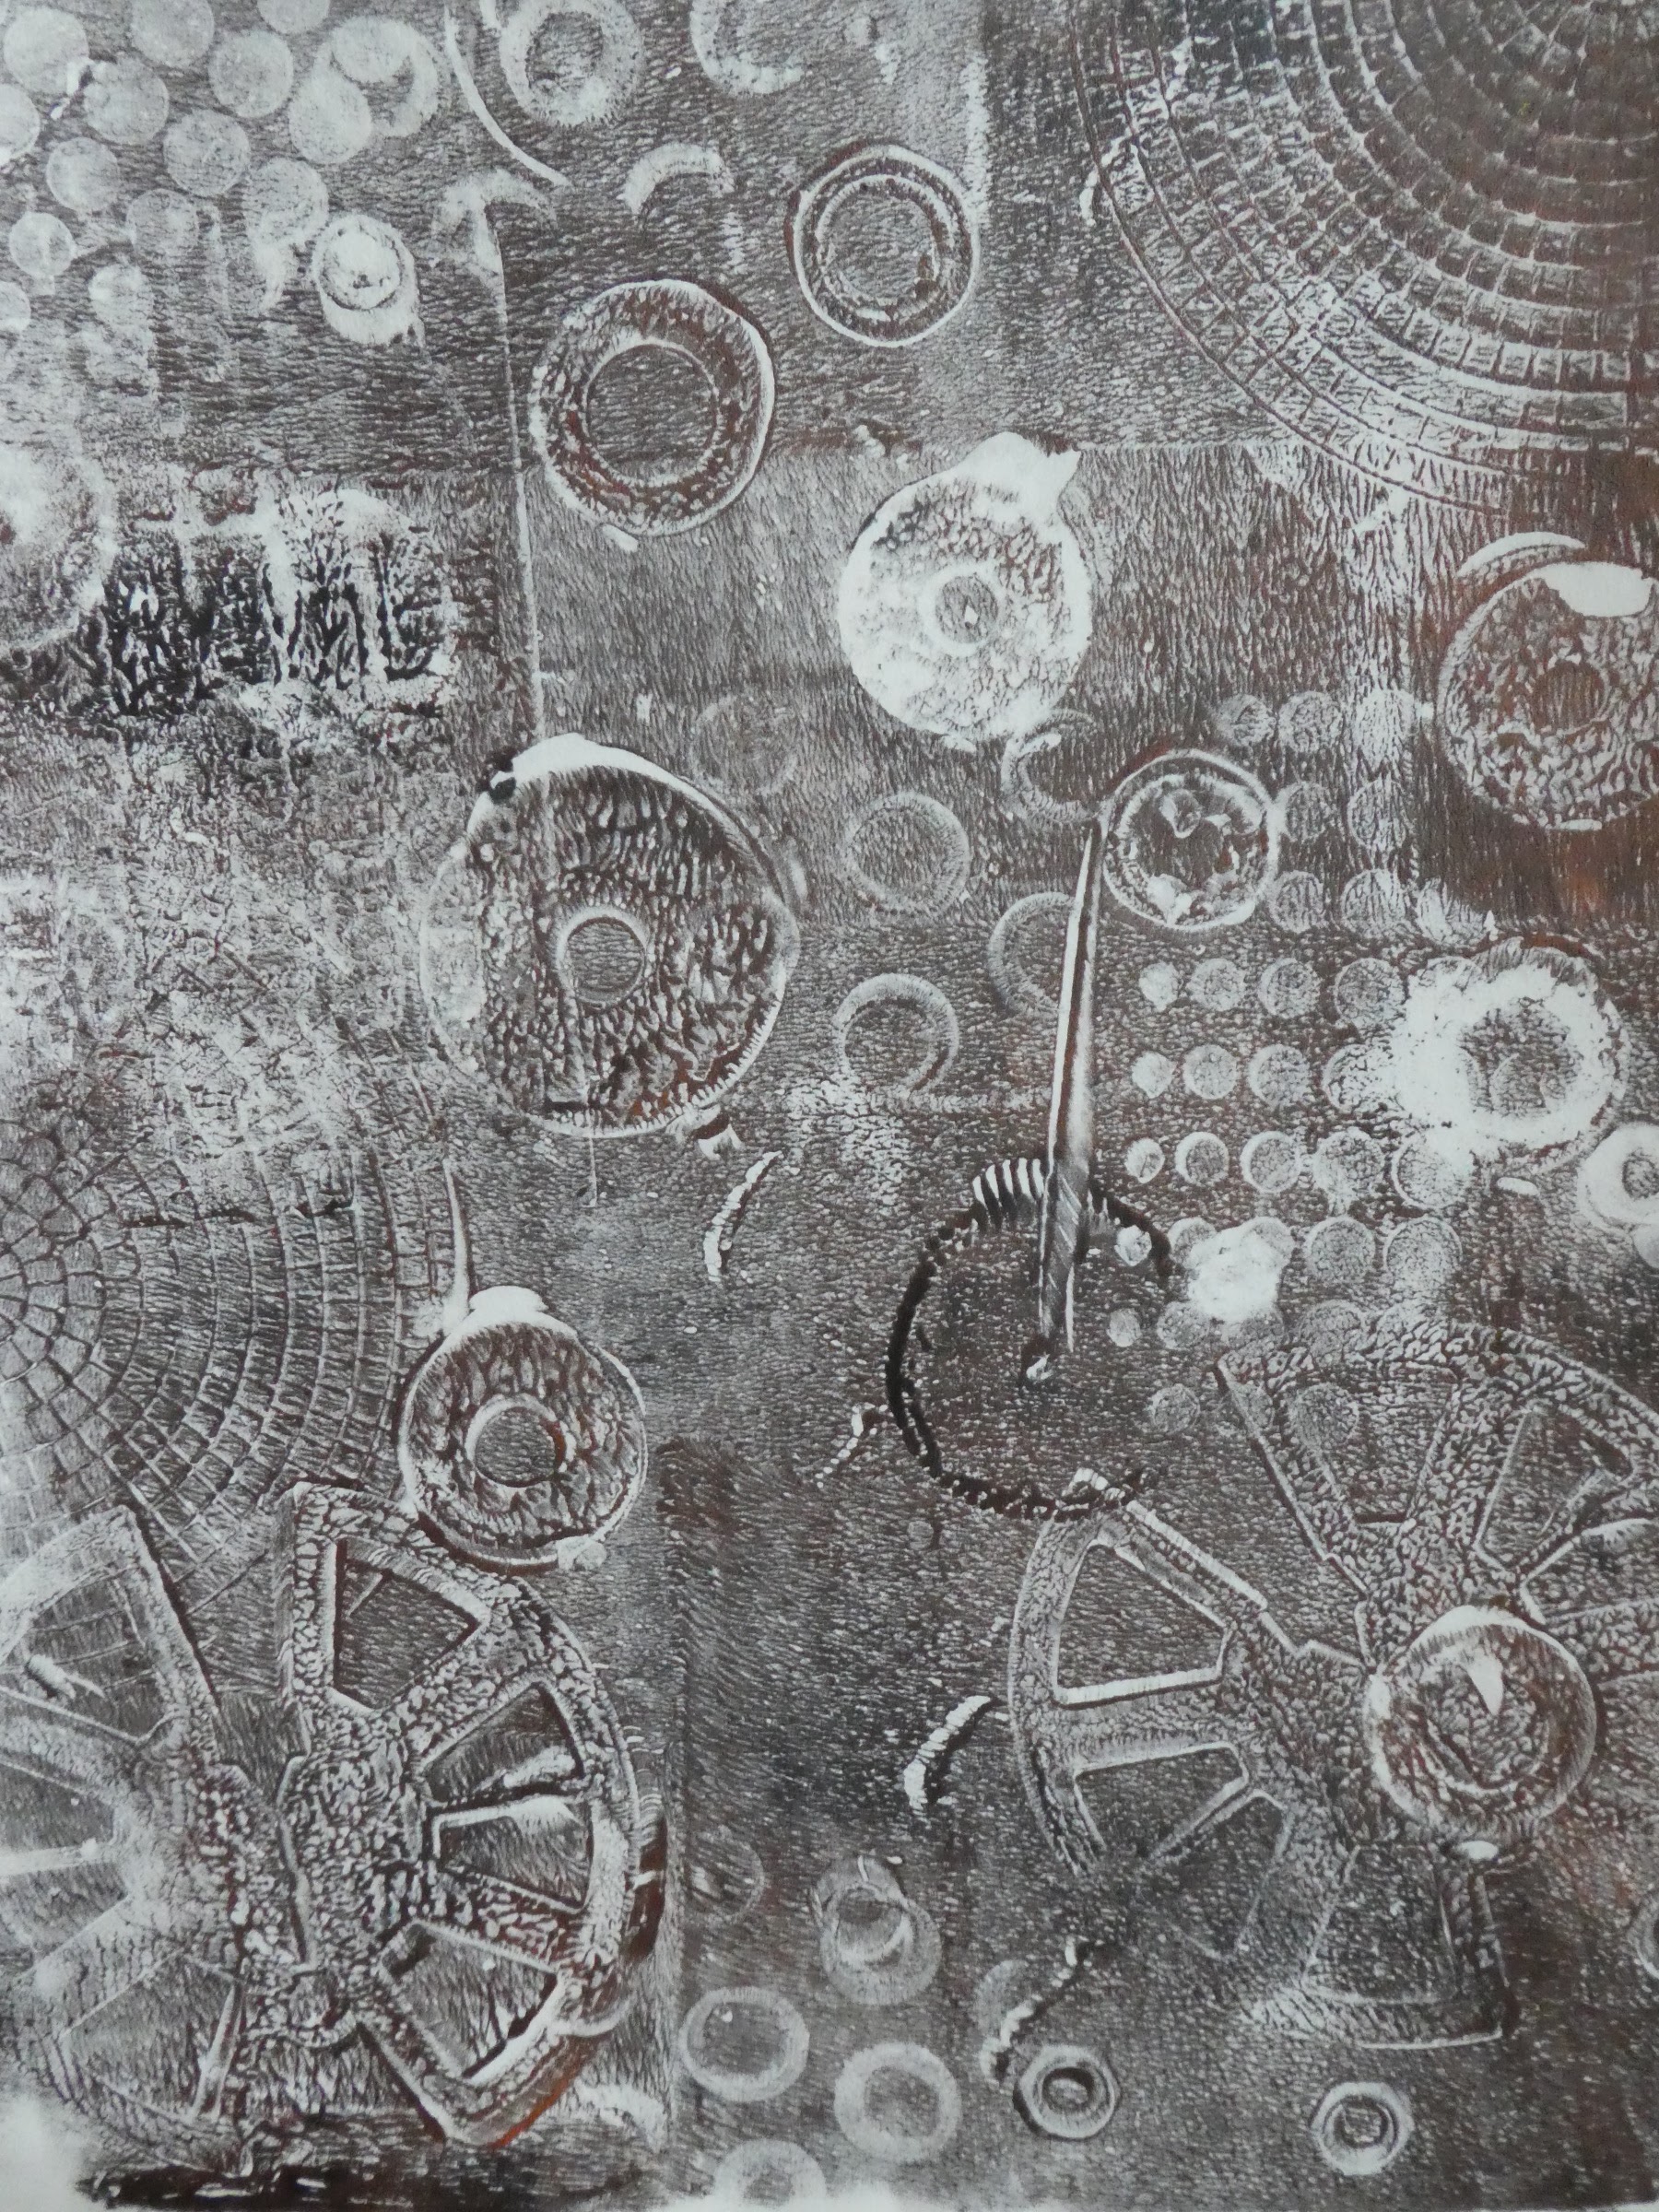
I put a very thin layer of black acrylic paint on the gel plate and smoothed a magazine page onto it.  It needs to be black and white with high contrast.  When I pulled the magazine page off the pattern from the page is left on the plate.  After leaving it to dry, I put a thin layer of white acrylic paint and put a piece of wet strength tissue on and left it to dry over lunch.  This is the print and will be useful in collage.

Then I did the same but put blue paint as the first layer rather than black.  I also took headlines from Towpath Talk which is a newspaper and put them onto the gel plate.  After burnishing I pulled off the newspaper and the print is on the gel plate.  Again I put a thin layer of white acrylic paint and a piece of paper on and left to dry.

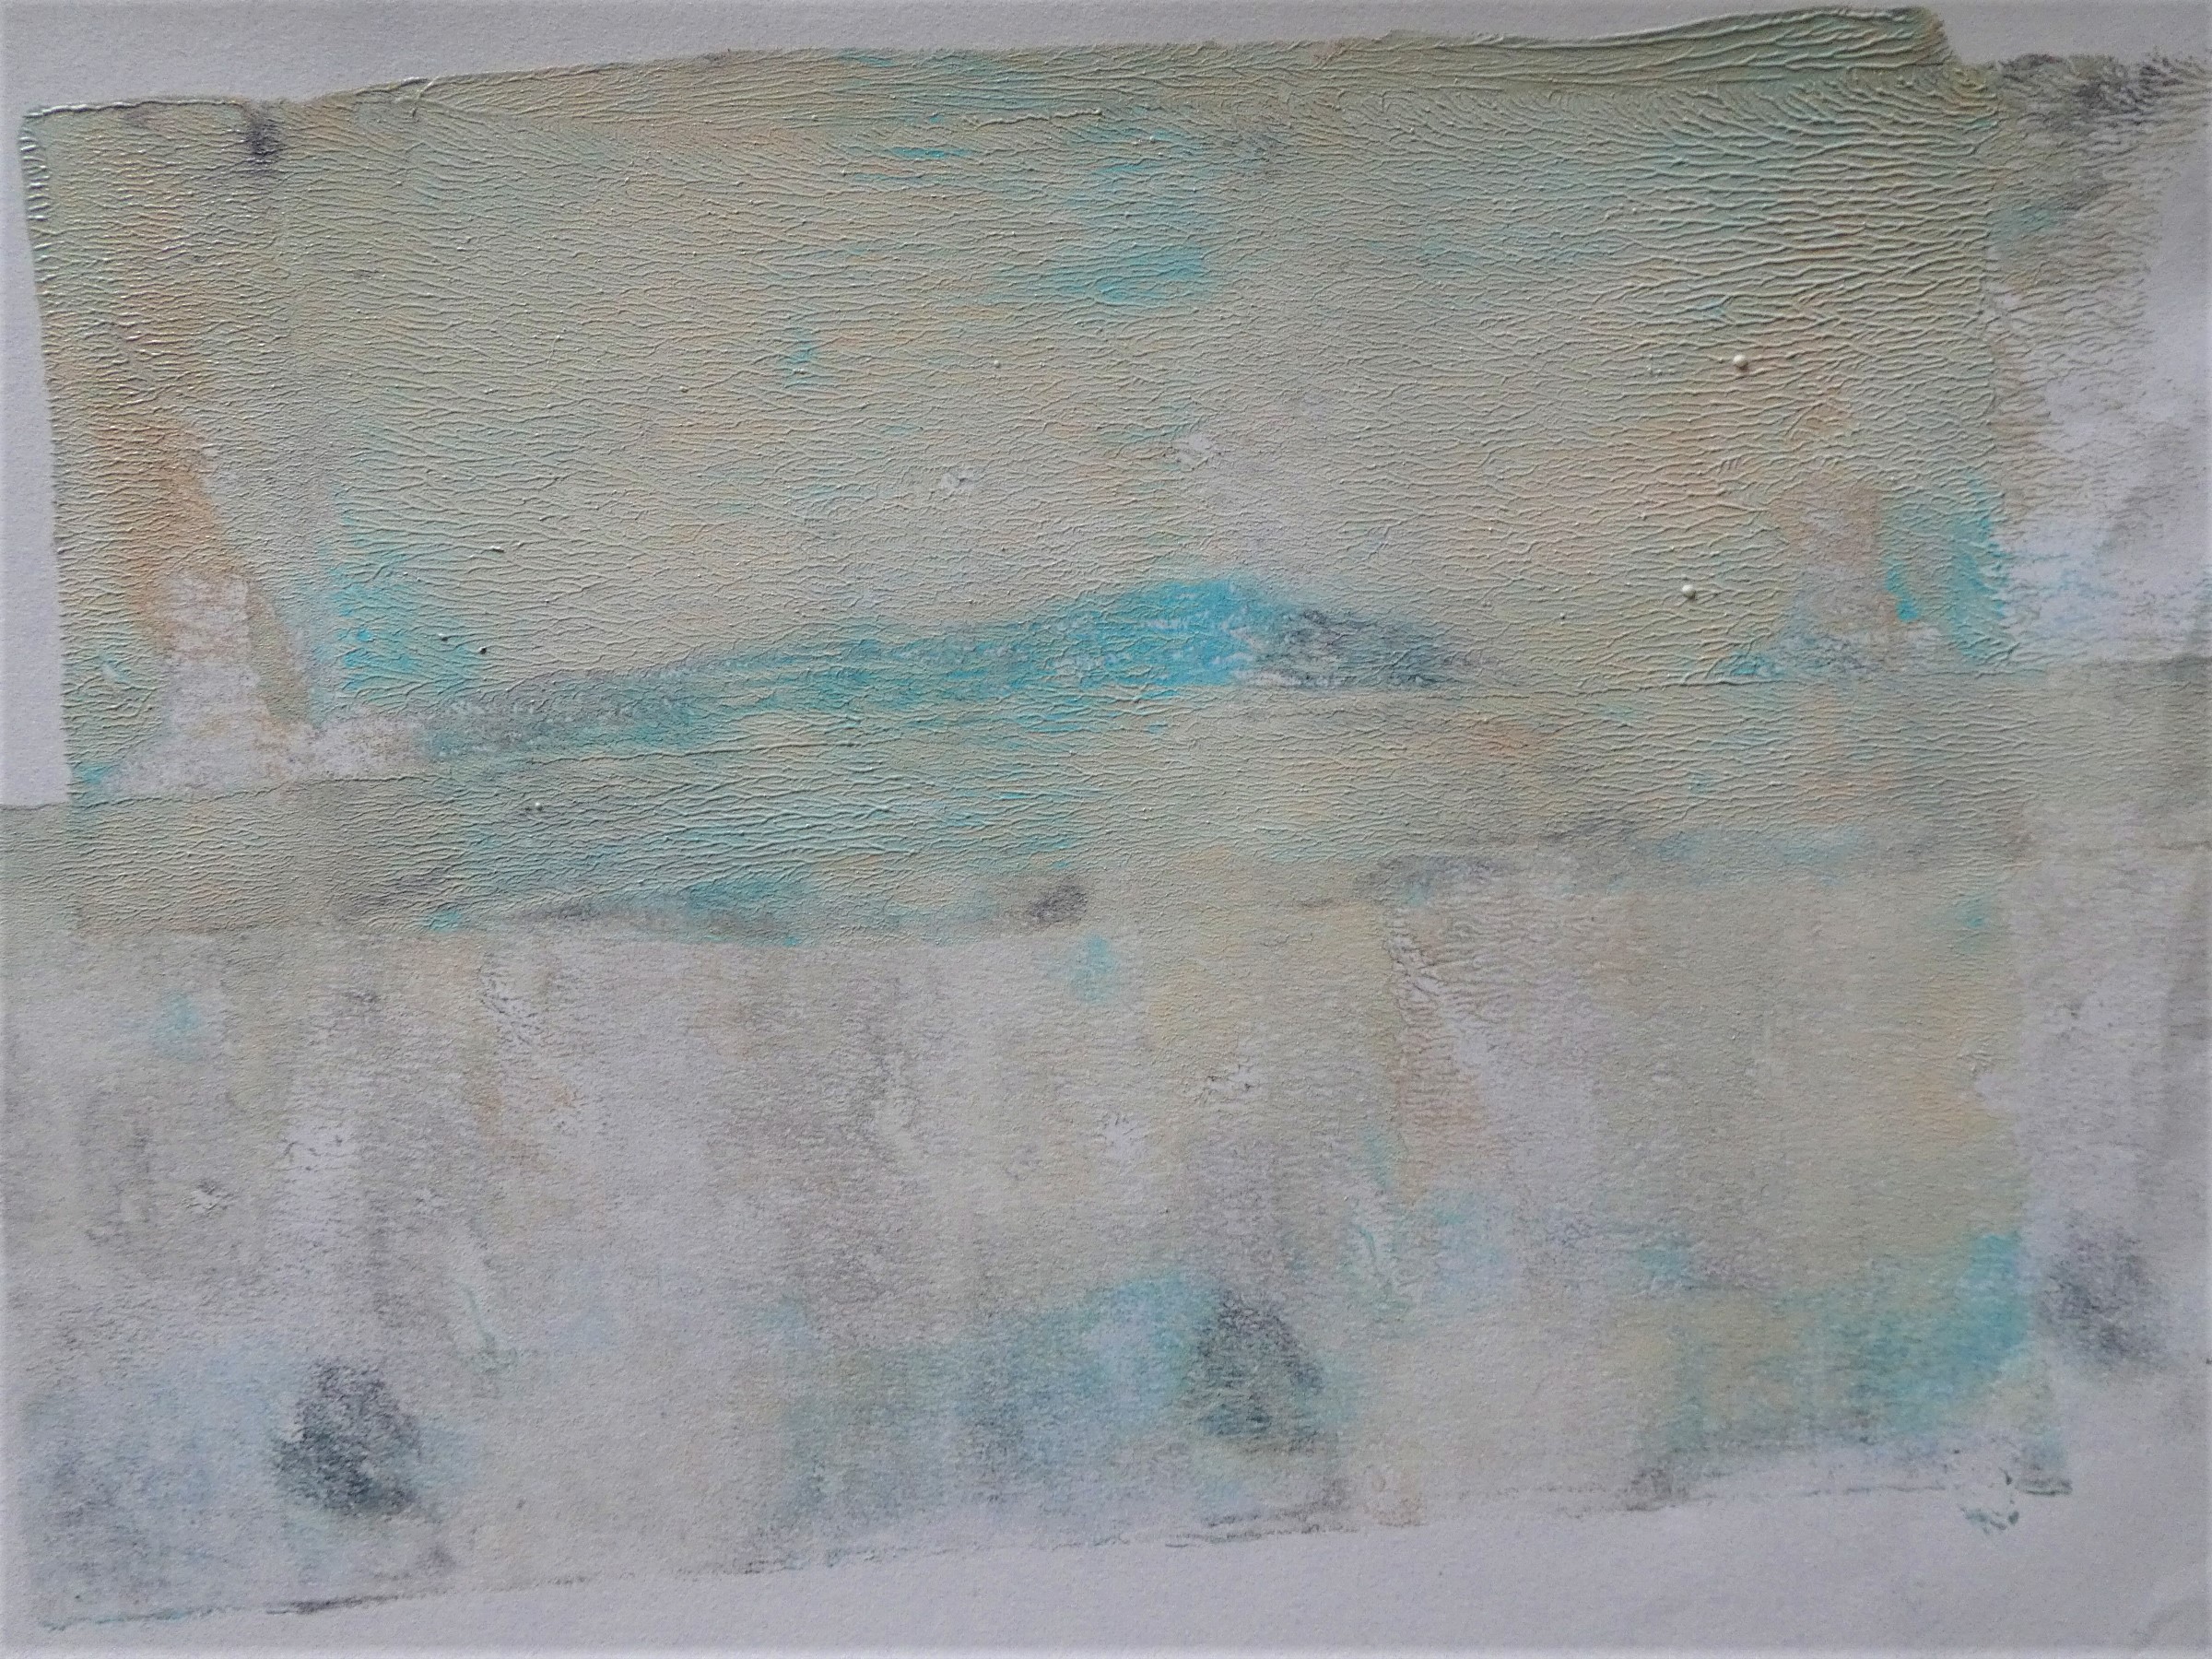
I had used a piece of leftover watercolour paper over the plate when I was smoothing the paper onto the plate for the blue pattern before I added the headlines.  This gave me this blue frame.  I used gel medium to pull the print of the pattern left on the plate.

I added more headlines to the gel plate.

I used transparent paint to pull the print.

I also tried putting some bondaweb through my printer.  After a couple of abortive attempts I set the printer to envelope.  I had taped the piece of bondaweb still on its backing sheet to a piece of thin card.  You can see at the bottom where I have pulled off some of the bondaweb.

I'm hoping to be able to iron bits of the printed bondaweb onto some silk noil which already has marks on it.

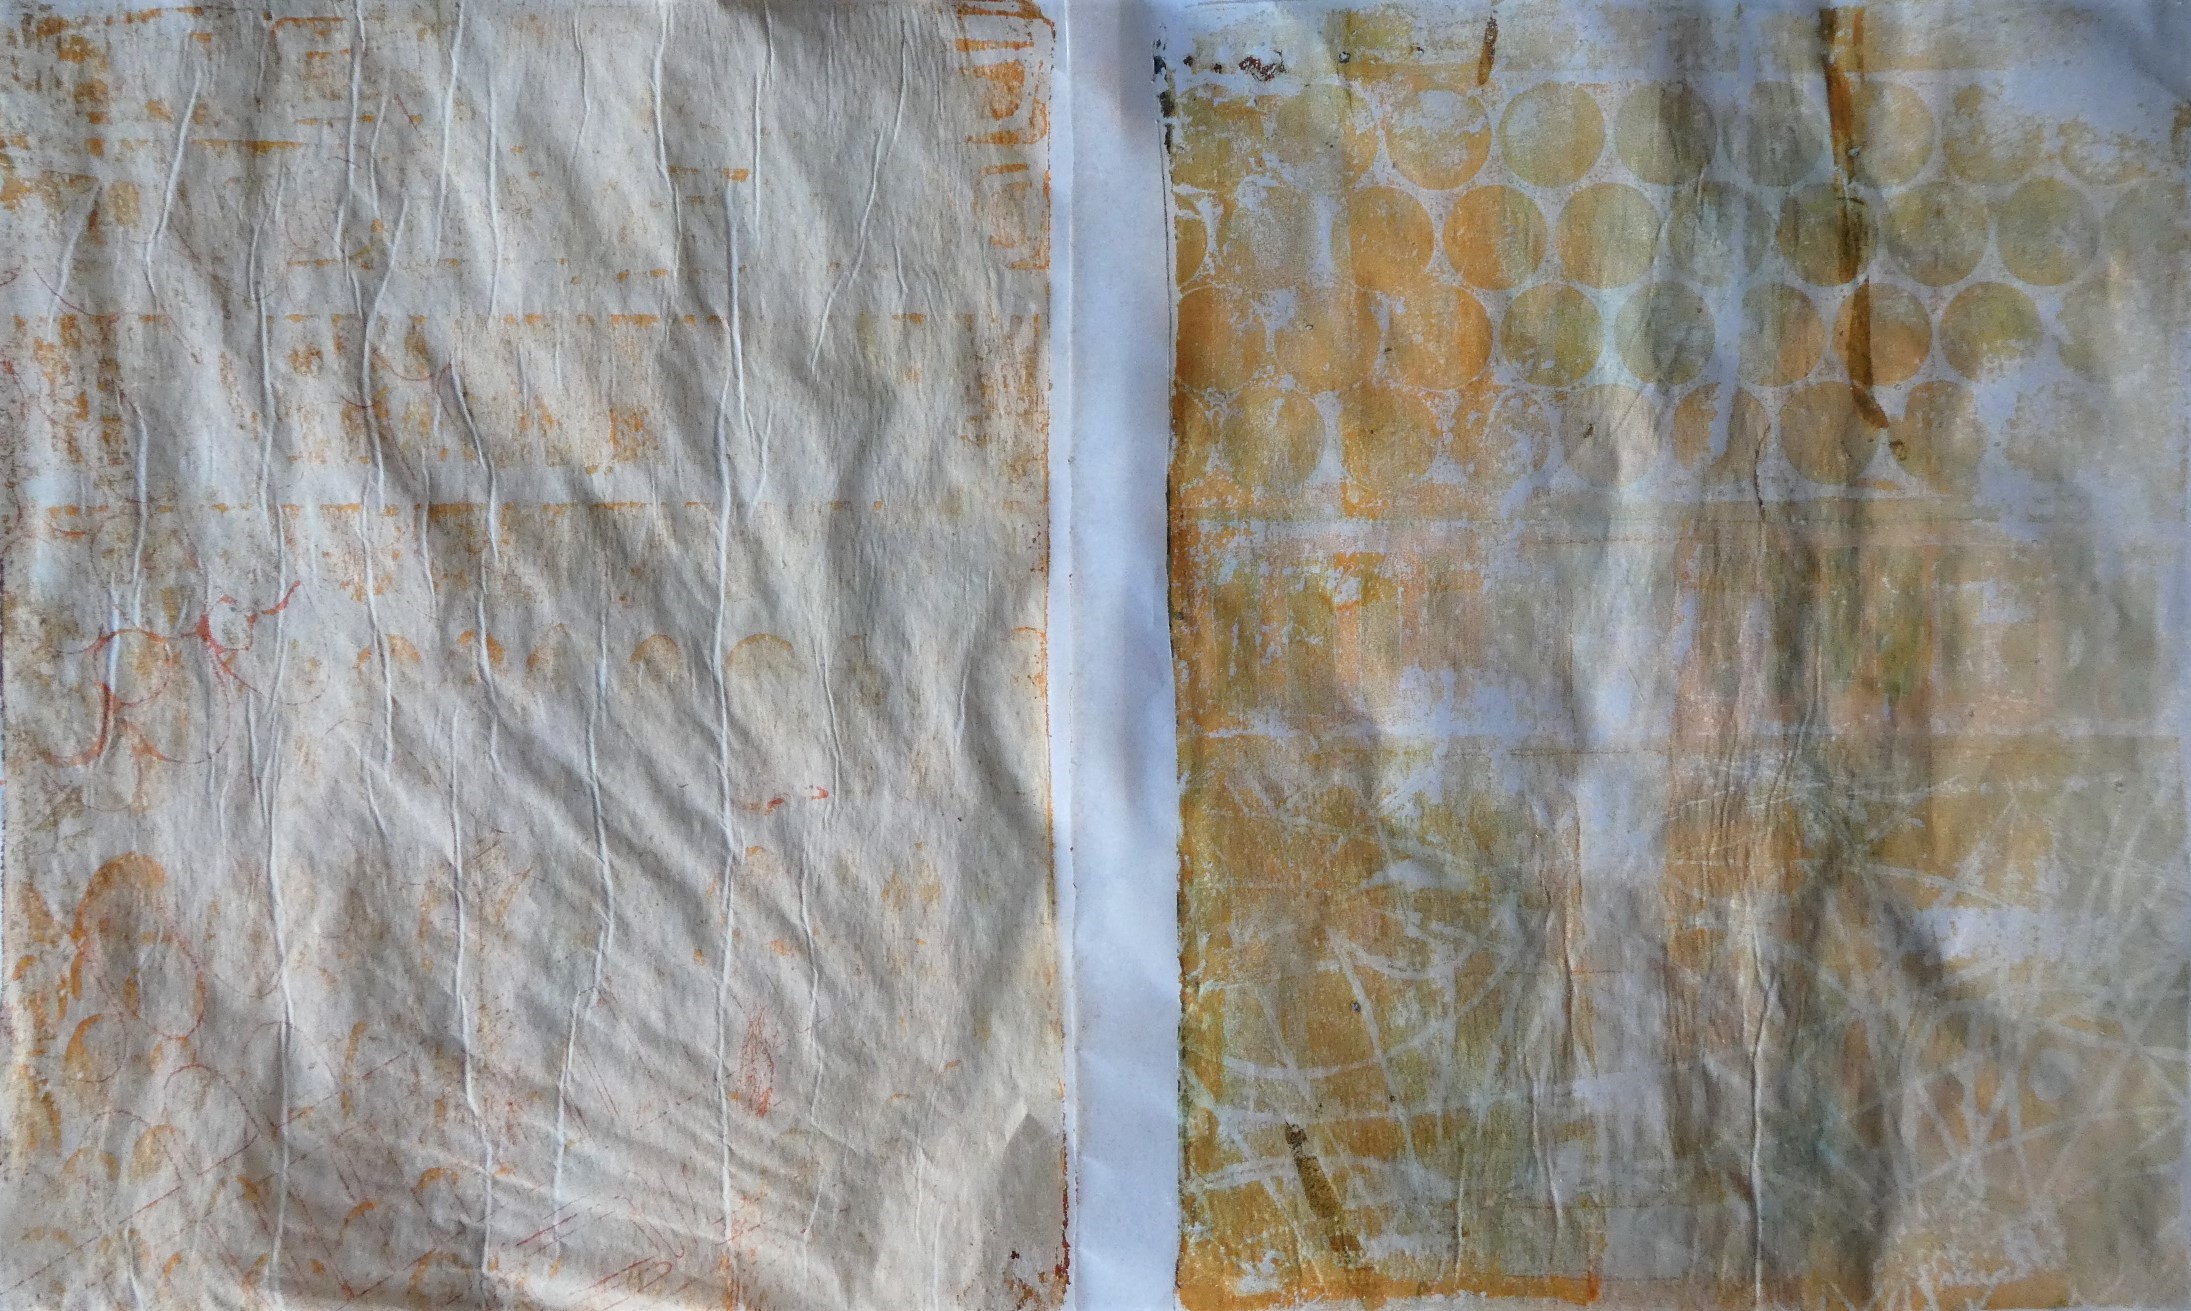
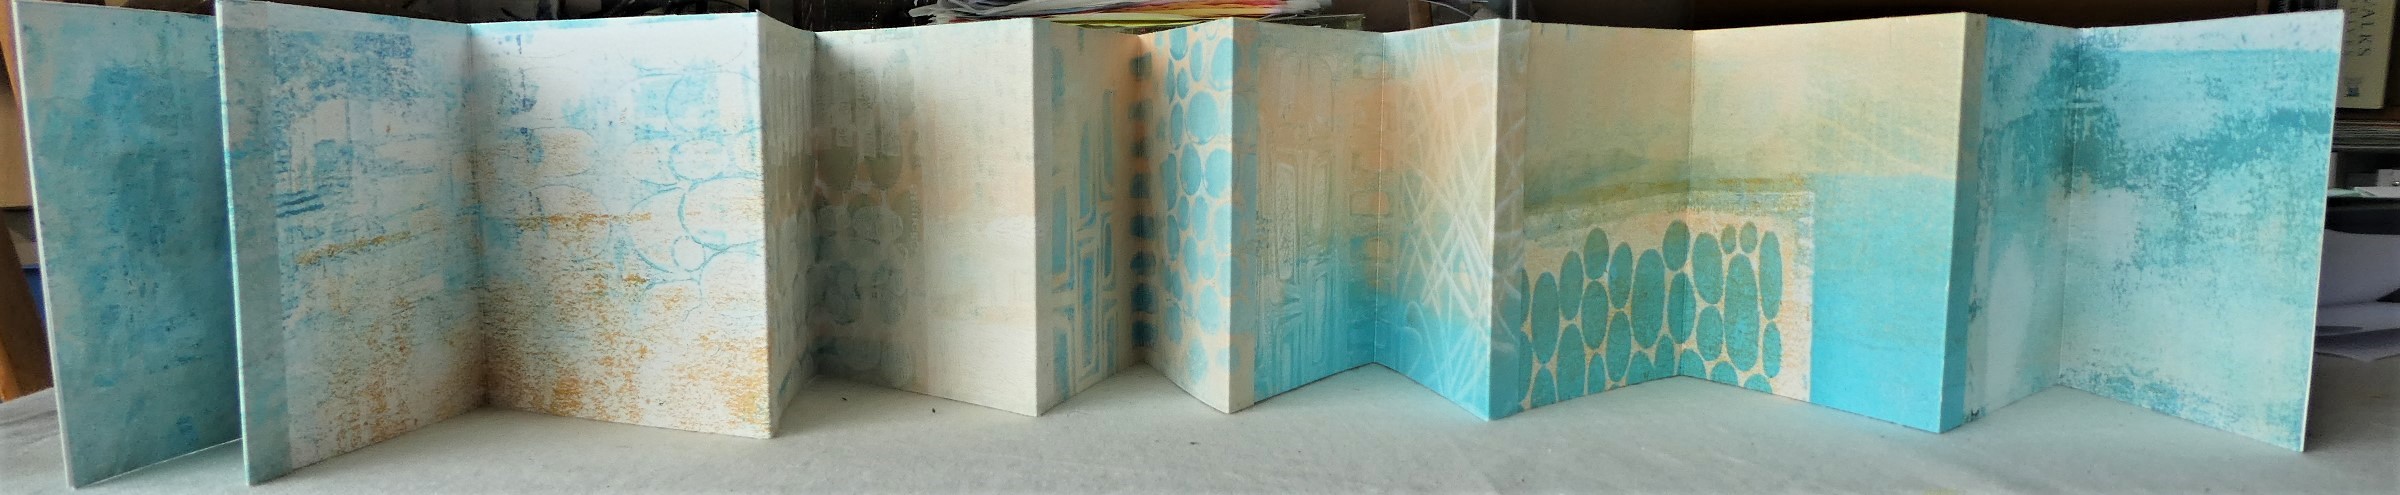
I'm planning on making the silk noil into a fabric book.  These are some of the pages.

If you're interested in playing with the gel plate I can thoroughly recommend Yeates Makes on YouTube.

Thanks for joining me today
Bernice

Saturday, 11 March 2023

A gel plate printing experiment

Gel plate printing is so very addictive.  I saw a fabulous reel on IG from @inkslinger_gypsy using things in much the same way as I have used plastic and metal bits on screens for breakdown printing.  You don't leave the bits on the gel plate - you use them to remove paint.

I used Payne's Grey and Copper and pressed nuts, washers, plastic canvas, embossed wallpaper and other things into the paint.  I had put far too much paint onto the plate that I was able to ink up a sceond plate and remove paint in the same way.  These plates were still too wet so I took prints.

First plate print

Second plate print

 I left the paint to dry on the plates and then added a layer of turquoise, peach pink and white.  Yet again there was too much paint so I took some of the paint off with the roller and rolled it onto paper.

This 'print' is where I cleaned the bits I'd removed paint with and then cleaned my roller over the top.

I had put paper onto the last layer of wet paint and left it to dry.  In fact came and edited my photos above and wrote this blogpost as far as here whilst waiting. And then had to use the heat gun.


These prints are okay and will be fine to tear up and use for collage.

However I shall probably have another try at some point.  I will use less paint and mix it on the paint tray better.  I'll use tweezers to pick up the washers as my fingers marked the paint.  I'll leave it to dry longer as you can see where the paper tore because the paint was still wet.  I will also take more time.  I was so concerned that the paint on the plate would dry before I'd peeled off the metal bits that I really rushed and there was obviously no need.

More experimenting to come.  Printing on fabric through the  inkjet printer.

And I'm going to try printing onto bondaweb both directly and through the printer.  Watch this space!

Thanks for joining me today
Bernice

Saturday, 18 February 2023

Yet more gel prints

Well, actually two prints!

I went out and bought some transparent acrylic paint.  The colours are far too strong for me so I was thrilled to find the Liquitex Transparent Mixing White paint.  White paint is usually opaque so when you mix it with transparent paint the colour becomes opaque.

I tried out mixing the white with the colours to see if it genuinely didn't make the colours opaque.

Then I did layers of the tramsparent paint  - leaving each layer to dry before the next layer.  The next two photos show the layers on the gel plate from either side, whilst holding the plate so the light sone through.


And this is what the plate looked like before I put the opaque white paint layer to be able to pull the print.

I have two gel plates so I worked on the two at the same time with the same colours and same stencils.  As before the next two photos show the layers on the gel plate from either side, whilst holding the plate so the light sone through.

The back of the plate is dirty and that show through as well!!!!

Here's the last transparent layer.  Because I rarely clean my palette there's a lot of dried-on acrylic paint which caused some really great texture on my roller.

Here are the two prints I pulled.  One from each plate.


The colours are not as pastel as I would like but there you go!

Thanks for joining me today
Bernice

Tuesday, 14 February 2023

Gel plate sessions

Continuing with the gel plate theme I chose a limited palette - you might recognise it.  I played with a stencil and a piece of plastic mat which has squiggly lines.


Interestingly I had the gel plate in a landscape position (which is unusual for me) but when it came to taking the photos, apart from the one above, I put the prints in portrait!


I had printed all the above on on mixed media paper.  The next few are on Deli paper or copy paper.


This was one of the prints I did with transparent paints - leaving each layer to dry - and then putting gel medium on top to pull the last layer.  I thought I had left it on to long so it tore - leaving paper on the gel plate.  But actually I hadn't left it long enough.

I printed back over the top to cover up all the white.

And these are with turquoise paint and just a bit too bright.  However these prints will be useful to add pops of colour on collages.

 Guess what I did next!  I cut up the prints made on mixed media paper to make concertina books. This one folds up to 10cms square.


This is a slightly smaller one and folds up to 10x8cms


I'm now in the thinking phase.  Should I stitch into it?  Should I collage other papers onto the pages?  Should I collage and stitch?

I'll let you know the outcome.

Thanks for joining me today.
Bernice

Saturday, 11 February 2023

Colour Wheels

I am doing a Sally Hirst course called Monotype & More.  Yes I know!  Don't go on.  I have too many courses all running at the same time.

One of the first exercises was to make a colour wheel by puttin paint onto a gel plate and pulling the print.  I have done a fair bit of colour theory but I have never mixed the paint on the gel plate.  Some of the colours were a bit hit and missbut still show the range.

This wheel is made with cool colours - Pyrrole Red, Nickel Titian Yellow and Coeruleum Hue.


This wheel is made from warm primaries - Primary Magenta, Primary Yellow and Primary Cyan.

There's two of each colour because I printed on Deli paper and copy paper to see if the surface of the paper made any difference to the colour.  It didn't!

After this I had a play with stencils and my favourite colours.

I'll share my results in a separate post.

Thanks for joining me today
Bernice

Saturday, 8 December 2018

Leaf Printing

In my previous post I described how I started working in my sketchbook inspired by the poem The Road Not Taken by Robert Frost.

Having realised I couldn't work only in oranges and yellows I experimented with which colours would work with yellow.   I used a Gel Press mini to print each colour.  I cut the leaves out of some painted paper.

I did a second page of hexagons using ideas from a Birgit Koopsen video.


Next I tried some leaf printing with the gel plate, but still experimenting with brighter colours.  I have some absolutely gorgeous prints which I have also scanned into my computer.


Then I went back to using stencils.


As yet I have no idea where this is taking me in terms of a textile piece but I'll keep you informed!

Thanks for joining me today.
Bernice