Showing posts with label hand stitched. Show all posts

Saturday, 6 April 2024

I can't believe it's

finished. And ahead of time. Go me!

For the calm section I drew outlines of rectangles and 3 straight lines on the computer.


 I traced the printout onto Stitch 'n Tear.


 I used a yellow ochre thread to stitch through the Stitch 'n Tear using running stitch.

I added some grey running stitch to connect through from chaos to order.

And here is the finished piece: Total chaos to less chaos to order to calm.

I'm thrilled it's finished.  I'm already thinking about the next piece which is called Dancing in Fetters.

Thanks for joining me today.
Bernice

Saturday, 29 July 2023

Scroll book update

In Don't Scroll Past I showed you how far I had got with the scroll book I'm making.   I had started to stitch in random places.

One of the problems with deciding vaguely what the finished piece will be, is that things don't always fit.  I knew I was going to put a piece of wood at the top for the fabric to wrap around, but wasn't sure what that wood might be.

Then I remembered that I still had some bobbins in a drawer.  However when I got one of them out it was just to small for the width of the fabric.  It wasn't possible to make the fabric narrower unless I undid quite a bit of stitching.

Thankfully I have a very amenable husband who was willing to sort it out for me.  In the photo below, the top bobbin is the original width.  The middle one shows where he cut 1 centimeter of the spindle out and glued the bobbin back together.  He inserted the centimetre piece into the middle of the bottom one which is now the right size for the fabric.

I usually print on the fabric before I start stitching but I thought I would experiment with using the thermofax screen over the stitching.  It was more difficult than usually because of the lumps and bumps but not impossible.  You can find the words of the poem on the thermofax screen here.


I have attached the fabric to the bobbin.  I could continue to stitch the piece if I feel like it.

Fabric bonded to itself around the bobbin

Bonded to the bobbin

Partly rolled up

Completely rolled up


Thanks for joining me today
Bernice
Tuesday, 18 July 2023

A hanging book

This is the other book I had not shown completed.  I used the fabrics I had printed at last year's map inspired summer school at Littleheath Barn Studio.

I tore the fabric into 15x10cm rectangles.  I put a long piece of fabric to hold the pieces in place.

I put a layer of cream soft calico and another layer of printed fabric.

I handstitched through all the layers following the patterns made by the breakdown printing.

 It's possible because of the large D rings to hang the book either way up or either side showing.


Oryou can close it up.

Thanks for joining me today
Bernice

The Festival of Quilts at the NEC  is on from Thursday 3rd August to Sunday 6th August.  I will be showing my books in the Creative Textiles Studio on Thursday, Saturday and Sunday afternoons.


Tuesday, 11 July 2023

Don't scroll past

Remember these from my last post

I also had some ice-dyed silk noil that I could use as  the cover.

However I decided not to make a conventional book but to make a scroll book.  I tore up all of the above pieces into smaller strips.  I took a piece of dyed cotton that I was never going to use for the backing.  I forgot to take a photo so this was taken after I had started stitching.

I put Bondaweb on the backing fabric, laid the strips of silk noil on top and ironed them to bond them all together.

I have started randomly stitching on this piece, particularly where the bonding didn't work too well.


 Here's a close up of the extended fly stitch.  There's also running stitch.  I'm using variegated thread from Paintbox Threads.

Thanks for stopping by
Bernice

Tuesday, 2 May 2023

Beaded

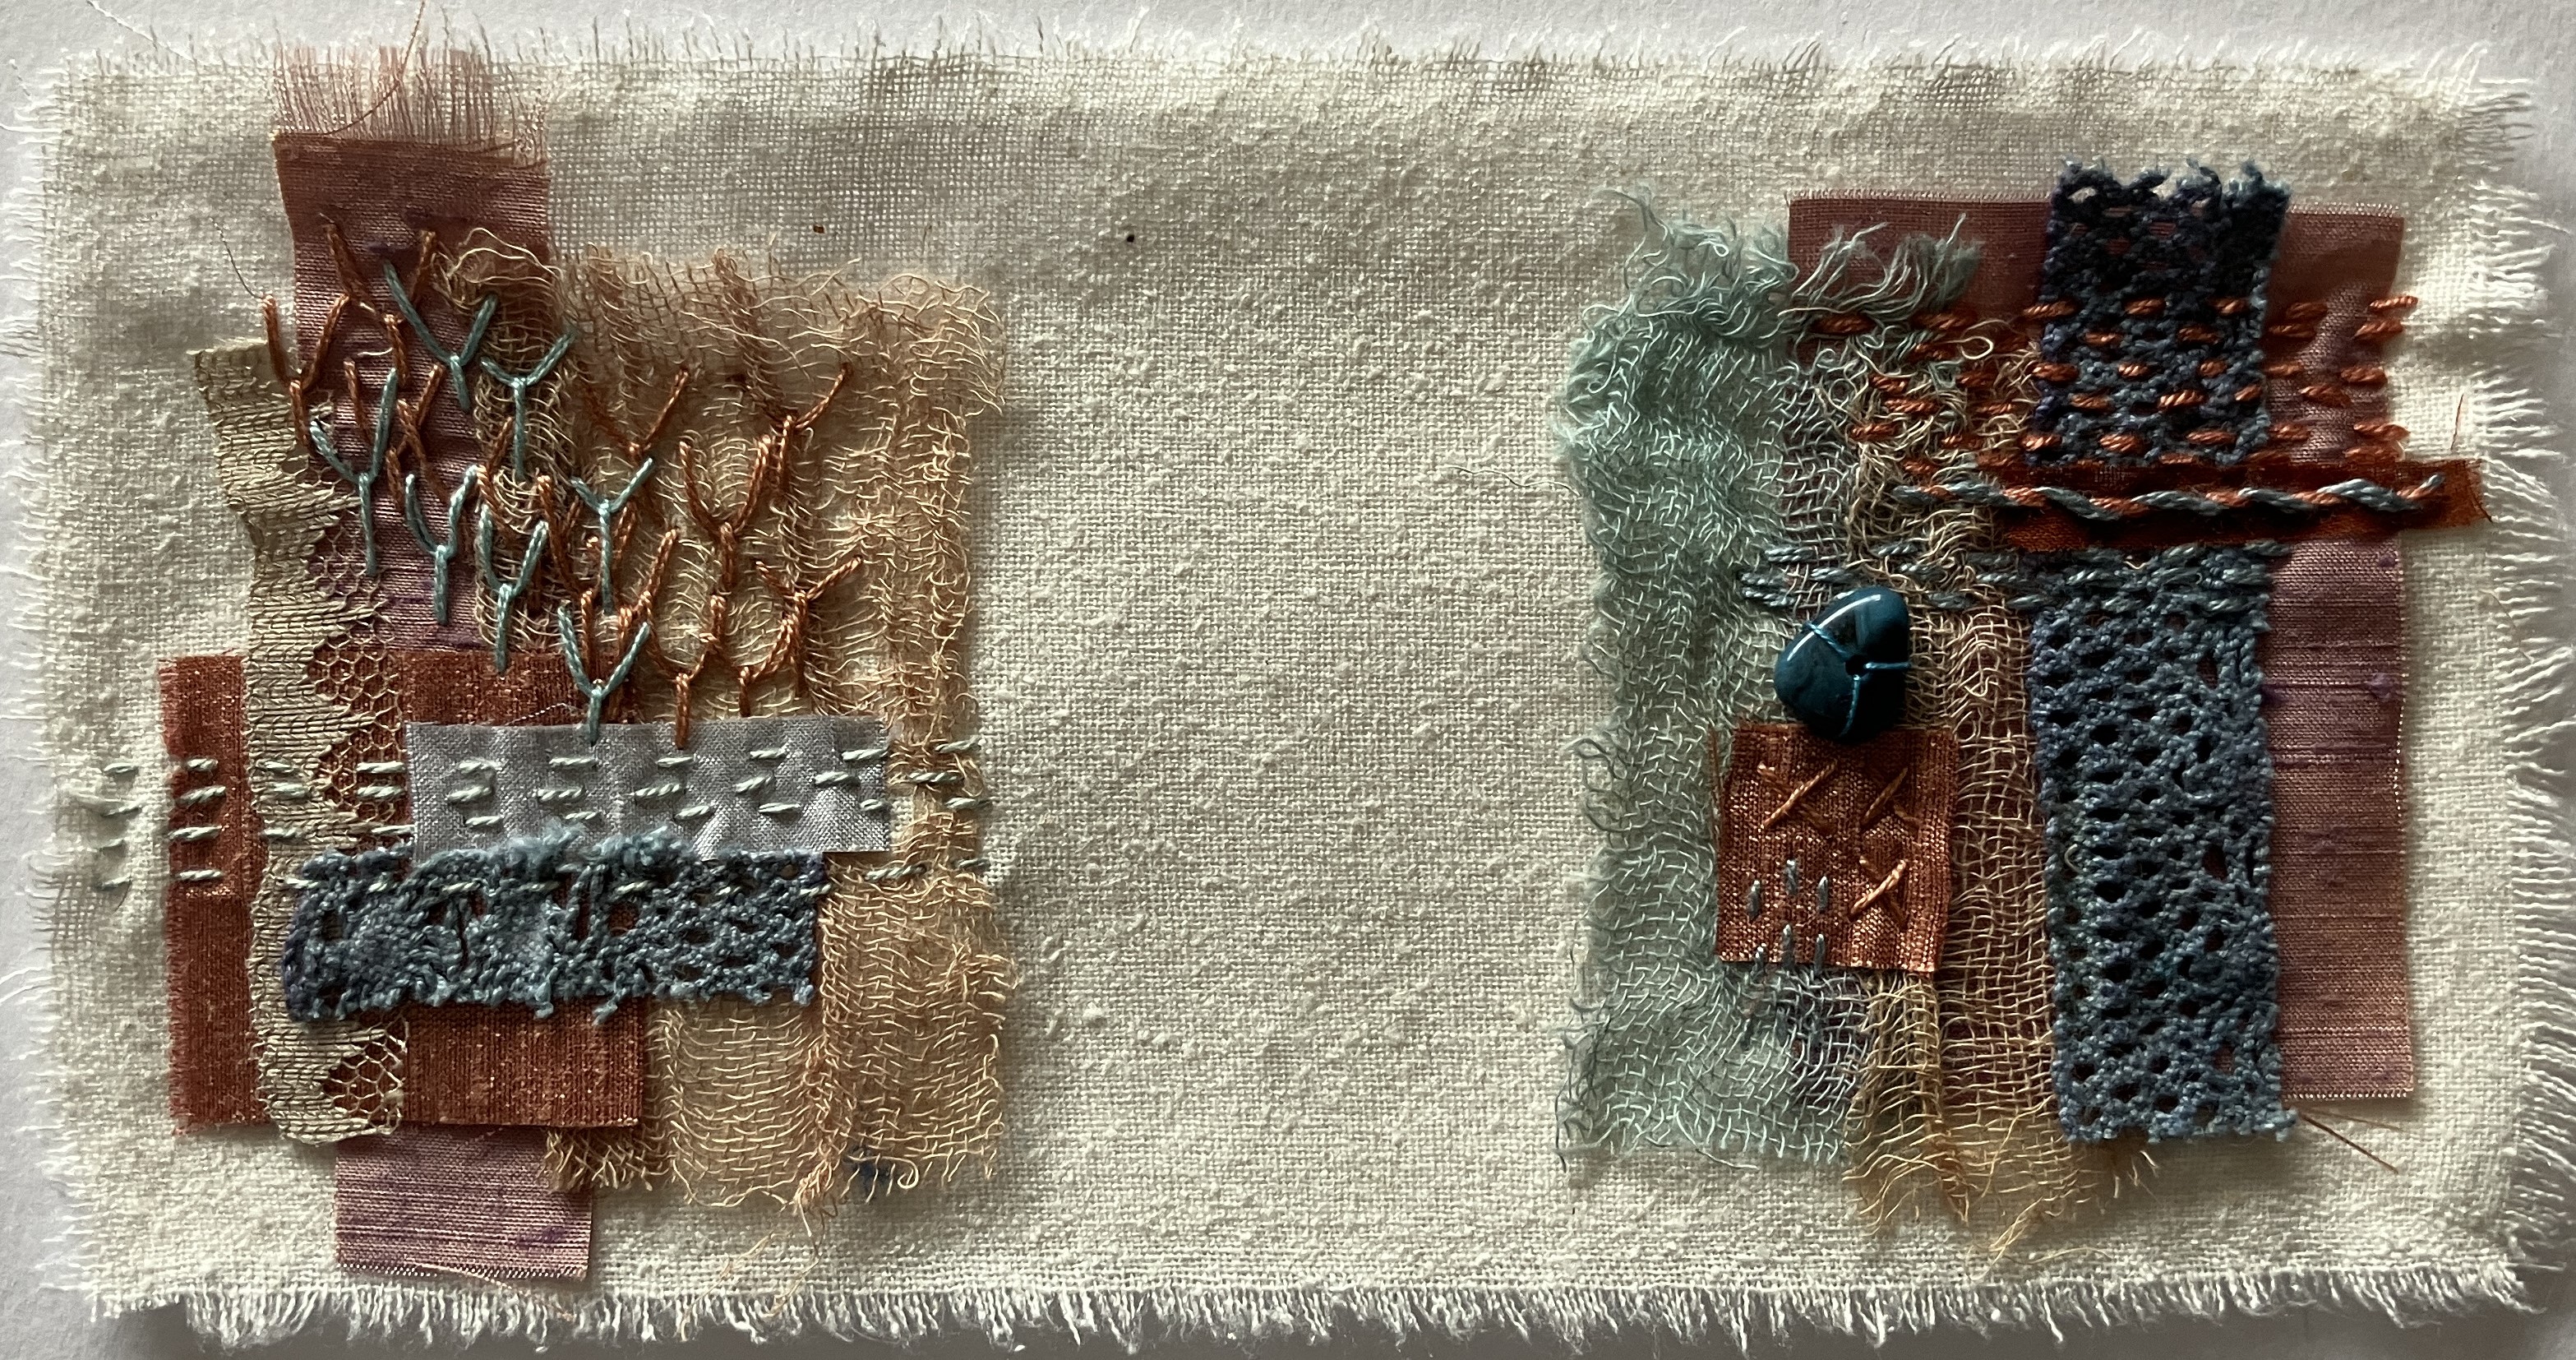
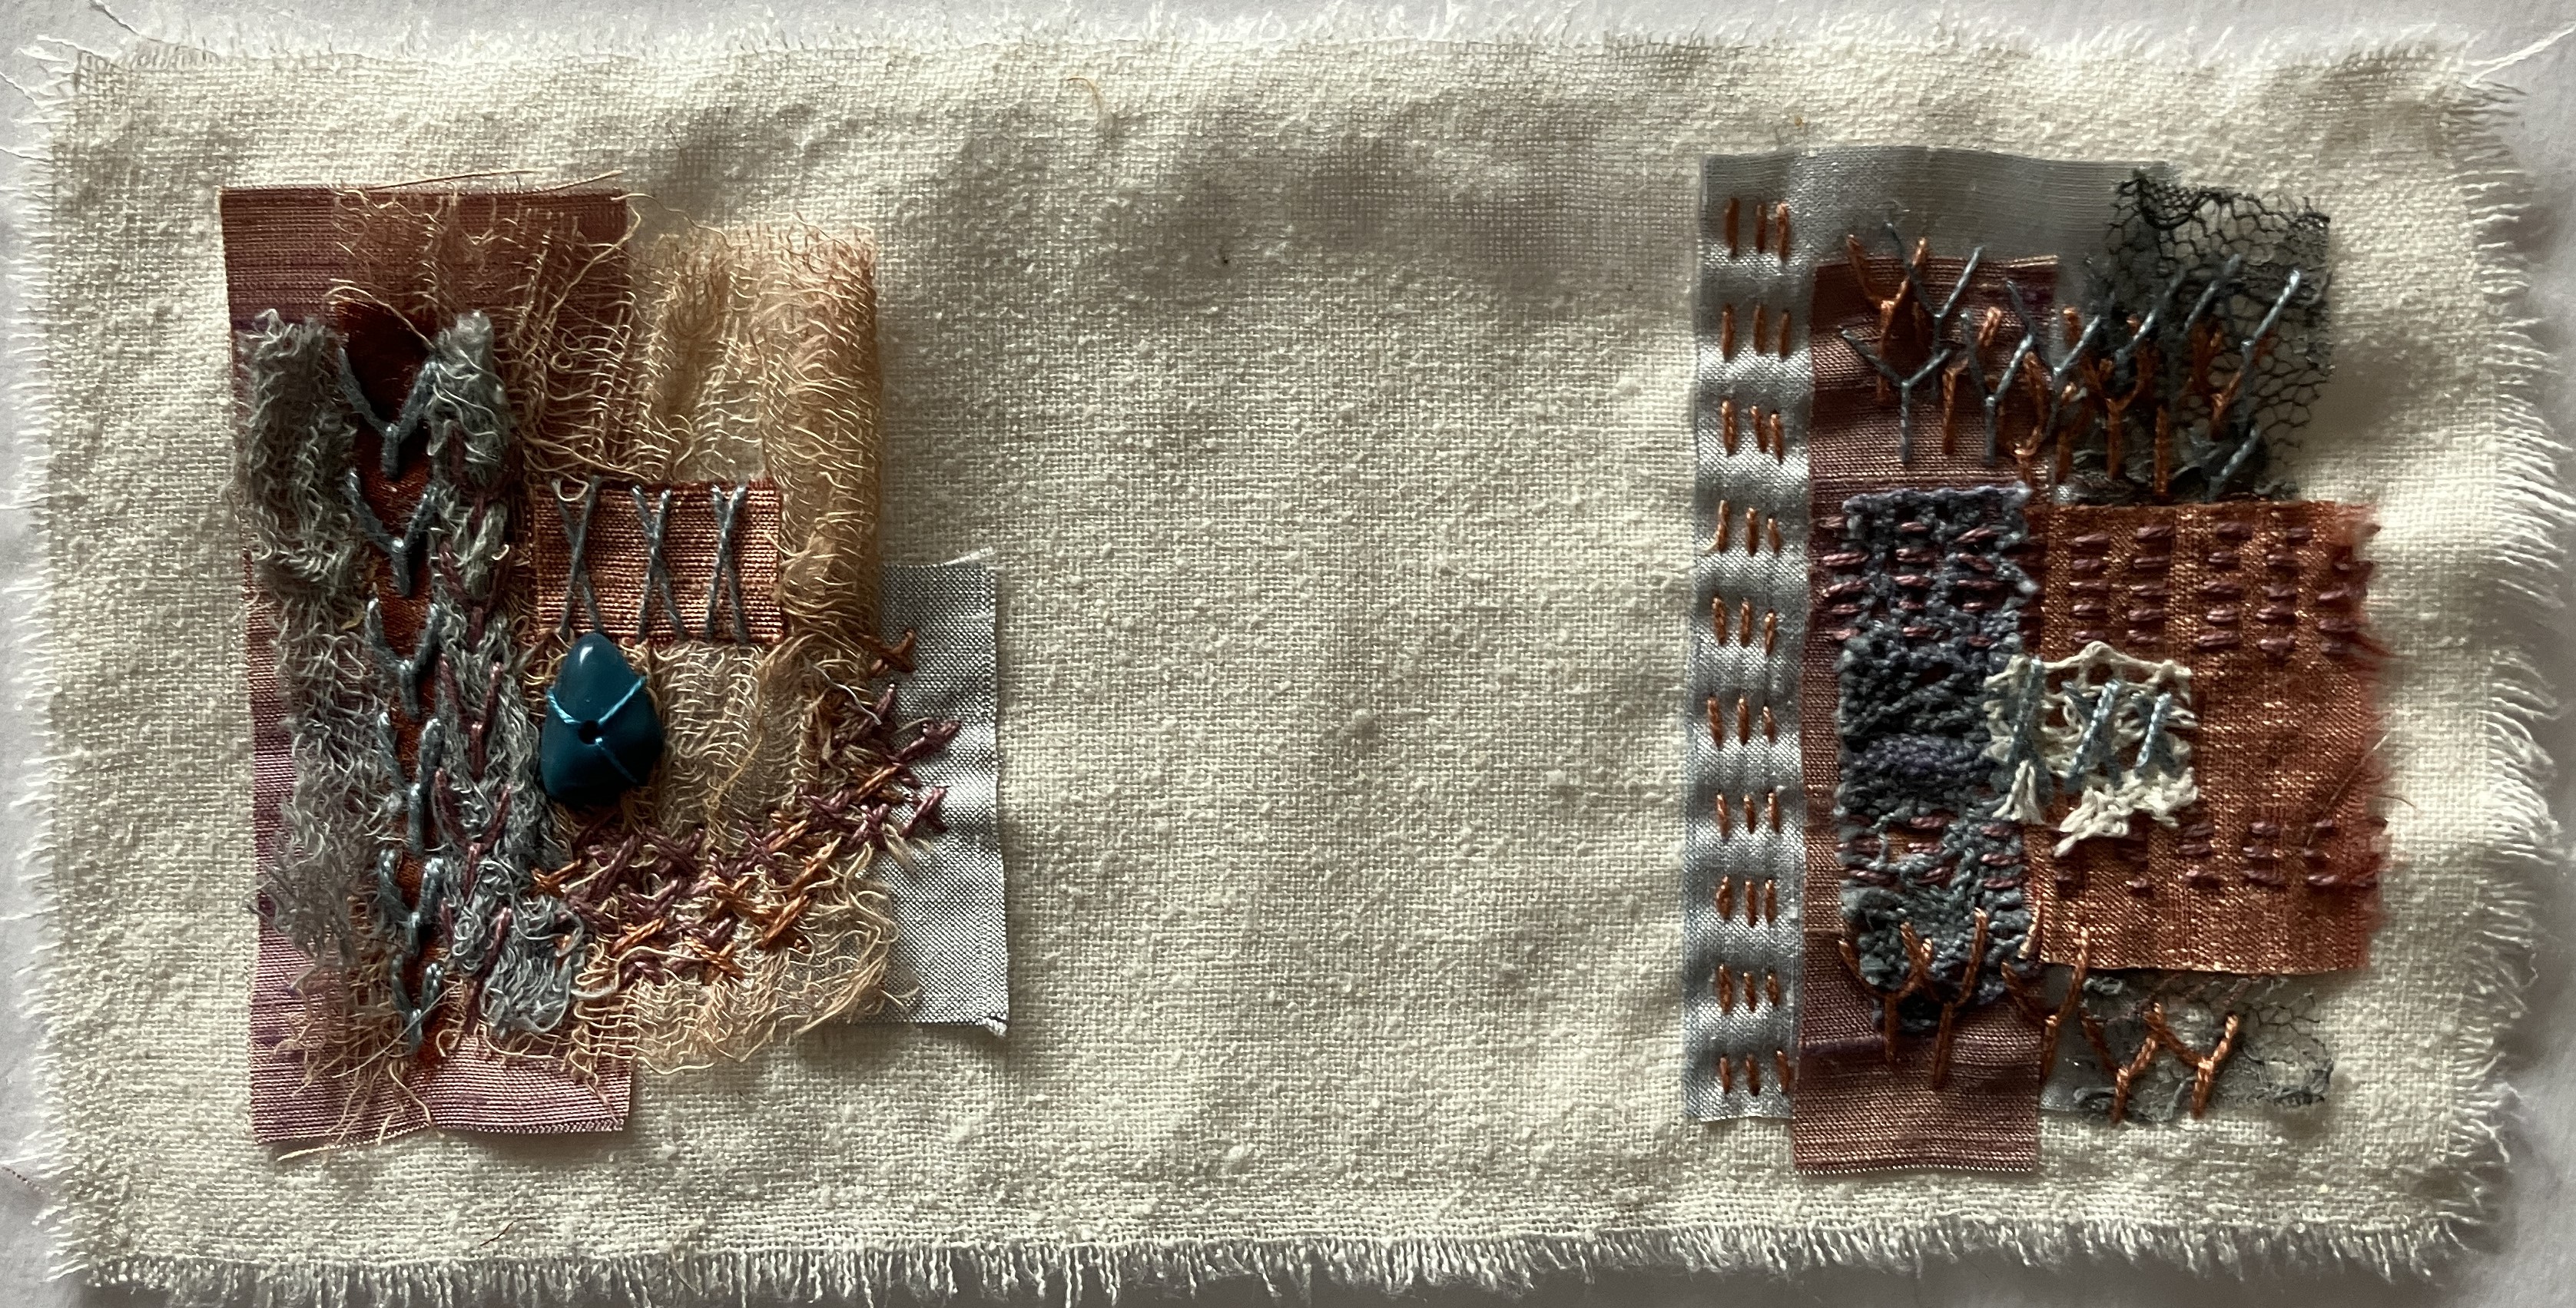
I'm still working on my silk noil book.  I've added beads to some of the collages.

I took these photos with my new iphone and the colours are much more accurate than with my camera.


Next job is to sew pairs of 'pages' together back-to-back to form double-sided 'pages'.

Thanks for joining me today
Bernice

Saturday, 11 January 2020

Further pages in my workbook

I last shared with you the pages of workbook that related to containers and to patterns using a gondola prow shape.

I continued with this pattern, printing out the patterns I had already composed on the computer.  I cut these up and made various paper samples.  The first one is weaving the paper.

Then I tried cutting up several photos in the same way and then mixing up the pieces.

I made collages with torn strips of the photos.

The next task was to find 4 ways to transfer designs to fabric using two‘low tech’ methods and two 'high tech methods'.

For the high tech methods I first chose to print the patterns onto cotton fabric through my inkjet printer.

For the second method I had a thermofax screen made of the gondola prow design and printed randomly with it using acrylic paint.


The first low tech method I used was to make a lino print.  I cut a negative and positive 'tile' in the lino.


The second method was to use compressed sponge to make a 'stamp' of the shape.


I started working on samples for the next task.  I had been on a Leah Higgins' workshop and used breakdown printing in my Venetian colours.  I cut up some of the fabric to make the samples and used the set patterns on my machine to add texture.


I also tried out paper lamination.  I did a workshop with Christine Chester several years ago but have never done anything with it.

I moved onto painting Lutradur and distressing it with the heat gun.

I hand stitched and/or machine stitched on the samples and put them all into a hand-made book.   I'll show you the results in my next post.

Thank you for joining me today.
Bernice